Showing posts with label cheese. Show all posts

Monday, December 8, 2014

Guilt-free Shrimp and Grits


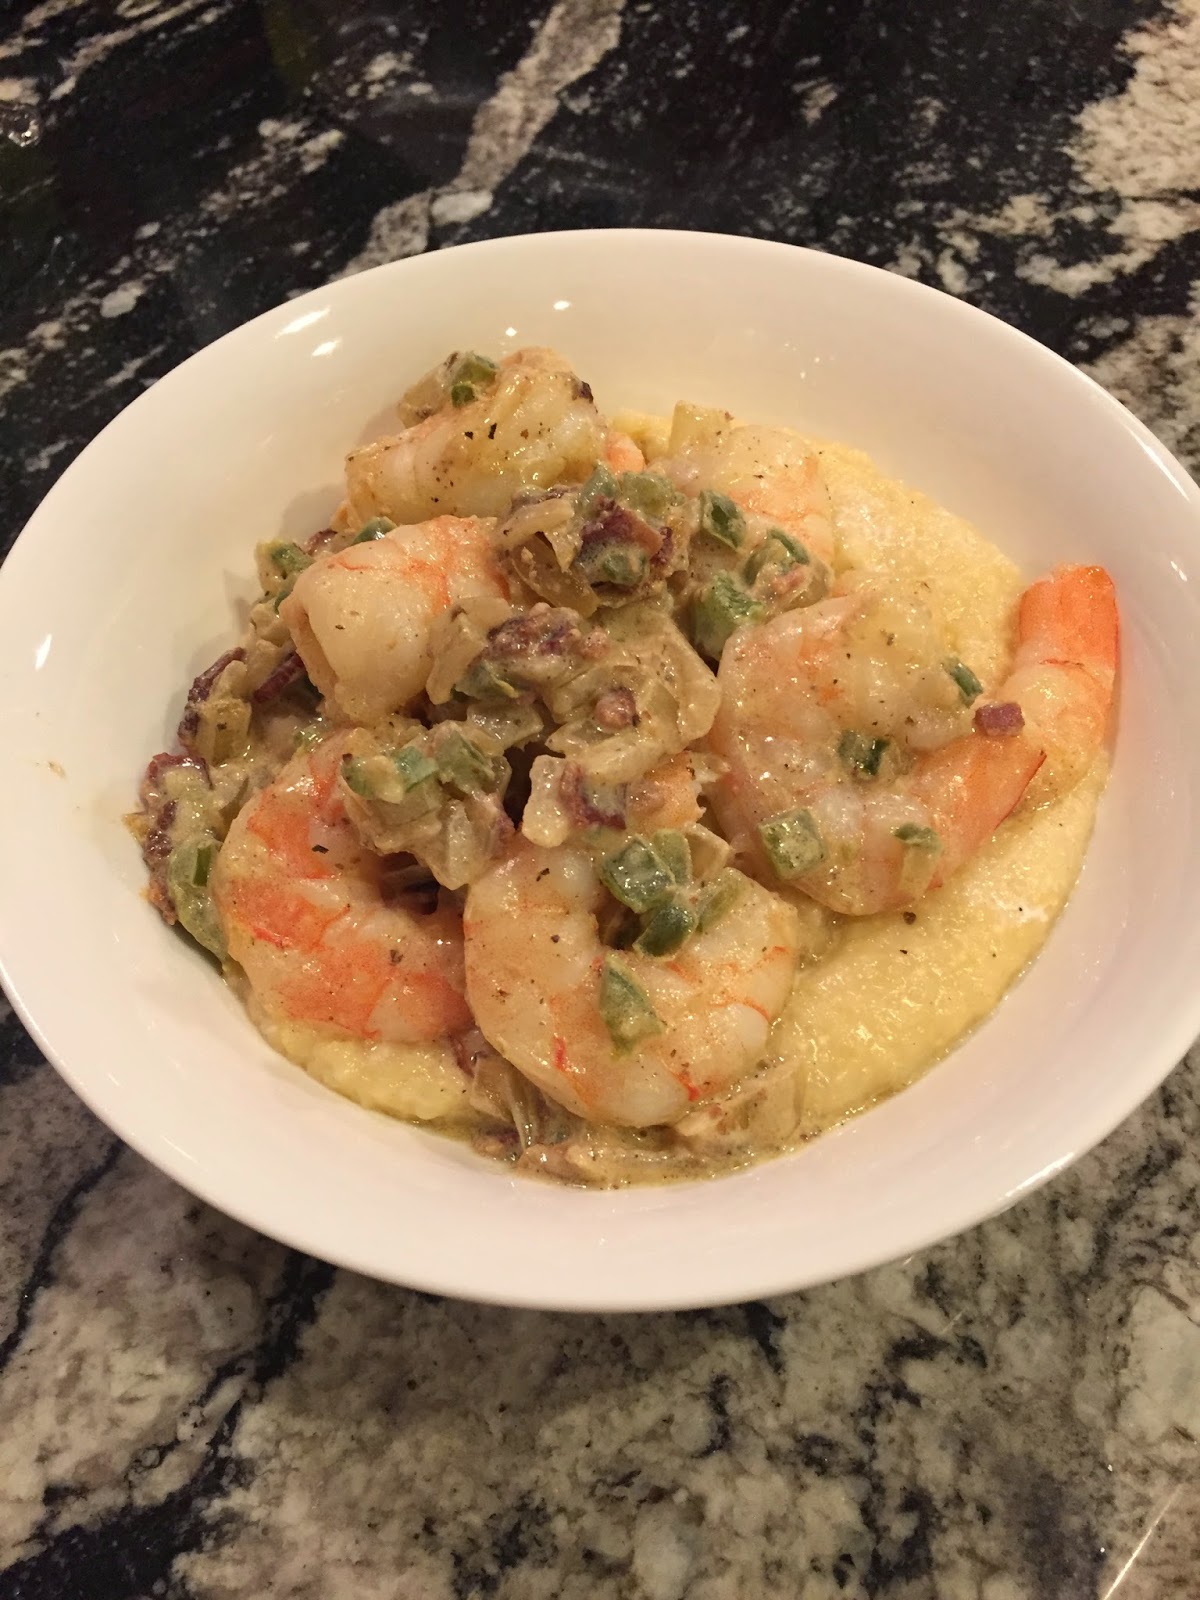
I was raised in the South, but somehow I can't remember a single time that shrimp and grits ever made it onto our dinner table. I can't even remember grits being on the menu at all for that matter. Cream of Wheat, yes. Grits, no. I blame that one on having parents raised far closer to Canada than Mexico. And yes, I said blame because its a shame we weren't eating this more often. Its so good!

This recipe requires you to pay a little more attention than most of my recipes, mostly because of the shrimp. They overcook quickly if you aren't watching what's happening in the pan. However, the extra effort is so worth it. The creamy, cheesy cheddar grits are perfect with the heat of the shrimp and the crispy, salty bacon adds...who am I kidding...its bacon. It makes everything awesome.

Here is what your'll need:
1lb Large or Jumbo shrimp, raw, shelled, de-veined
3/4c quick grits (not instant)
1 14oz can chicken broth
1c water
1/4 tsp black pepper
1/2c sharp cheddar cheese
2 strips of bacon
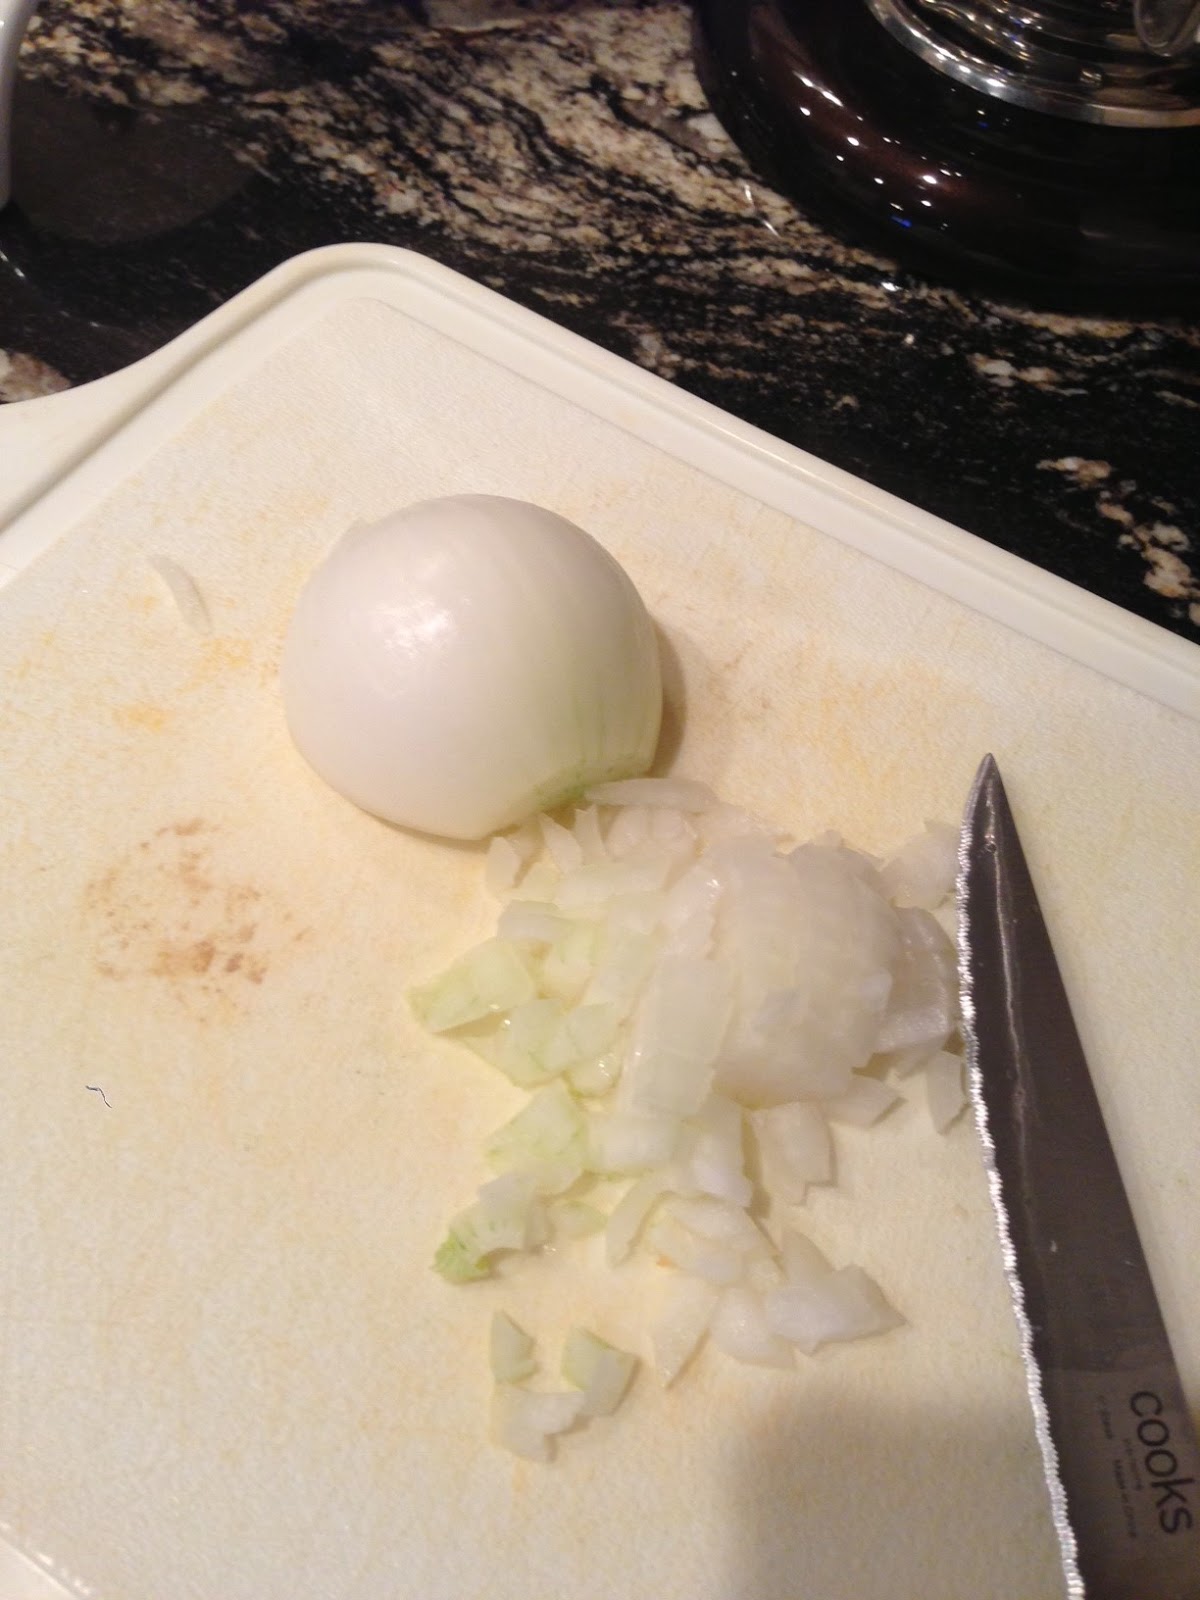
1/2 a large yellow onion, finely chopped
1/2 a green bell pepper, finely chopped
1 tsp garlic, finely chopped
1/4c fat free half and half
1 tsp Tabasco sauce (optional, omit for non-spicy shrimp and grits)


Here's how to make the recipe:
1. In a sauce pan bring 1c chicken broth and 1c water to boil and whisk in grits and black pepper. Cook according to the package directions.

2. In a large sauté pan over medium heat, fry bacon until crispy. Remove bacon from pan and transfer it to a paper towel, leaving he residual bacon fat in the pan. 

3. Add finely chopped onion to sauté pan and cook until translucent, 3-4 minutes. Add finely chopped bell pepper and garlic and continue to cook until peppers are soft, 2-3 more minutes.

4. Push onions, peppers and garlic to the outer edge of the pan and add shrimp in a single layer in the center of the pan and lightly season with salt and pepper. The shrimp cooks quickly. It only needs about 2 minutes (or less) on each side. You want to cook it until it is no longer pink and translucent, but is still tender.

5. As soon as shrimp is cooked through, lower the heat to simmer and stir in half and half, being sure to scrape up all the tasty bits of bacon and veggies off the bottom of the pan. Add Tabasco sauce, if desired. I loved the spicy kick, but I removed the kid's shrimp from the pan before I added the Tabasco sauce.

6. Turn your attention back to your grits. Give them a good stir. I like my grits to be a little looser, so I ended up stirring in the remaining chicken broth, about 1c of additional broth. Add cheddar cheese and mix well.Continue to stir until cheddar is melted. Season as needed with salt and pepper.

7. Divide grits into serving bowls and top with shrimp and sauce. Serve immediately. Enjoy!

I served ours with a side of zucchini. It is just two rough chopped zucchini sauteed with 1/2tbsp olive oil and 1tsp minced garlic with salt and pepper. Cook over medium heat until tender, about 5-7 min.


I’d love to hear what you thought of the recipe. Please feel free to leave comments!


Monday, July 15, 2013

Just roll with it...Shredded Chicken Enchiladas


A few weeks ago I ventured  back into the world of "let's make something bad for you not so bad for you." I had avoided that style of cooking for a while, opting to try to make some new recipes and try out some dishes I hadn't made before. For my first effort back into healthier comfort food I decided to make baked egg rolls and guess what...you won't be finding that recipe on this blog.

They were a bust...literally. The worst part was that I had told my in-laws I'd make dinner that night. The trouble started when I decided to assemble them at home and bake them at their house. The egg roll wrappers all stuck together and everyone of them tore to some degree when I pulled them off the plate but I decided to try and bake them anyway. I had to feed these people, right?

It was a failure all around. They were too salty, never got crispy, plus they stuck to the foil and busted open even more...what is an open-face egg roll? Well, that night...it was dinner. Everyone humored me and ate them, but I was once again reminded that feeding friends and family is not the ideal time to try a new recipe, much less a recipe that in no way resembles food that you eat on a daily basis.

So, that brings me to today. I was really craving Mexican food. I decided Southwestern Egg Rolls a la Chili's sounded great. Um yea...let's whip out those leftover egg roll wrappers and give them another shot. Yes! Brilliant idea!

I started by prepping the filling. I tried to remember what is in Chili's egg rolls and then decide what would work to keep these as healthy as they could be. I settled on black beans, fire roasted tomatoes, diced green chiles, corn, onion, and shredded chicken seasoned with red pepper flakes, garlic and cumin.

Earlier in the day I had started a crock pot of chicken breasts. I love the way shredded chicken comes out when I cook it that way. Usually I put the chicken breasts in the bottom of the crock pot and cover it with whatever dried herbs sound good and then pour 100% natural chicken broth over the top until it just covers the meat and then cook on low for 5-6 hours. By the time the timer goes off, you can easily shred the chicken with a fork. This is a great way to meal prep. In fact, this week we will be having three dishes that incorporate this batch of shredded chicken. That may sound boring but it's just a matter of using it in different ways. We are having a Mexican meal, BBQ and Pizza. **note: drain all but approximately 1/4 cup of the broth before you shred the chicken**

Back to the Southwestern egg rolls. The filling was tasting really good so I went to the fridge and pulled out the leftover wrappers. Funny...I didn't remember the little black specs on the wrappers. Yea, evidently they aren't supposed to be there. Only at this moment did I take a better look at the package to see it said in bold letters "PERISHABLE- USE WITHIN 2 DAYS of OPENING." These guys were at least 2 weeks old and they looked it. Dang it.

I did what any woman who really wants her egg roll would do. I loaded up both kids (one of which had been playing in my make-up all afternoon and looked a fool) and headed to the grocery store. I headed straight to the refrigerator section where I was quite sure I bought the first package of wrappers. Guess what? Not there. I circled 3 or 4 times while my blue-eye-liner-clad pre-schooler made sure to yell how hungry she was at the top of her lungs every time another shopper passed by us.

Around that time I decided that my Southwestern Egg Rolls were now enchiladas. I headed to the register with my sad little can of enchilada sauce. I was ready to pay and go, but surely the barely-teenage girl who was running the register would know if they had egg roll wrappers, right? No. No, she didn't but she knew who to call. She pointed me toward a manager that looked to be all of four days older than she was and said he knew what I wanted.

I mustered up my last bit of hope, hoisted the baby back up onto my hip and dragged my starving kid back to the refrigerator section. I was hopeful for a minute as he seemed pretty sure of where he was heading, but sorry, no. I'm not looking for frozen pre-made egg rolls. He then took me to the the section I'd been circling earlier. You guess it...still not there.

I think the lesson is clear here. The universe wants me to give up this crazy baked egg roll dream...Southwestern or otherwise.

So, for dinner ended up with some pretty tasty enchiladas, green beans sauted in olive oil and garlic and watermelon. Bellies full, mission accomplished. Sort of.

Here is how I made them:

Start by sauteing a medium onion in 1tsp of olive oil over medium heat. Once the onion has softened add the garlic and continue cooking for about 4-5 minutes.
Now add to the pan your rinsed black beans, corn, chopped green chilies, drained fire roasted tomatoes, and seasoning.

Stir your vegetable mix together well and add 2-3 shredded chicken breasts. I only wanted to make one meal, without a lot of leftovers, so I removed about 1/3 of the veg mix before adding the chicken. It will be part of my lunch this week. Since I had less vegetables, I only added 2 chicken breasts.
Let that all cook together, stirring often, for a few minutes then get out a baking dish and pour about 1/3 of the can of enchilada sauce in the bottom of the pan. Next fill and roll your tortillas and place them seam-side down in the baking dish. I made five. You could definitely make a lot more than that with this much filling, but I make these really big. Like I said, I've already meal-prepped my lunches this week so I didn't want a lot of leftovers.

These are the tortillas I prefer to use. They are not "clean" but they are low-carb and fairly low-calorie. Also they have a texture very similar to a regular flour tortilla. I can't handle the "healthy" tortillas that turn slimy and fall apart when you try to use them.
Lastly pour the remaining sauce over your rolled enchiladas and top with 1/4 cup of reduced fat cheddar cheese and bake for 20 minutes at 375 degrees.
This isn't a beautiful picture of my plate, but I was starving and ready to dig in.

Recipe:
Carb Balance Tortillas
1 14 oz can of enchilada sauce
1 med onion, chopped
2-3 cloves of garlic, minced
1 tsp olive oil
1 can black beans, drained
1 14.5 oz can organic fire roasted tomatoes, drained
1 4oz can chopped green chilies
1 small bag of frozen corn or the kernels off 3 ears of corn 
1/2 tsp (or more) cumin
1/2 tsp dried red chili flakes (or less if you don't want a lot of spice)
2-3 cooked chicken breasts, shredded
Salt and pepper to taste
1/4 c reduced fat cheddar cheese as topping

Assemble and bake for 20 minutes at 375 degrees

Tuesday, June 18, 2013

Easy Margarita Pizza and Asperagus


It's summer. We all need easy and dare I say it...we all need pizza. Here is a quick and delicious summer dinner for under 400 calories. 

This is a great family meal as well. The kids will love to help you make homemade pizza and its easy to make as many or few servings as you need. 

**note: lavash bread can be found at most grocery stores. It is usually wherever pita bread and flat breads are sold, not in the bread aisle. This brand was purchased at Walmart near the deli meat counter**


Pre-heat oven to 400 degrees 

Pizza:
Brush one lavash bread with 3/4tbsp olive oil and dust with garlic powder. 

Place the "crust" in the oven for 5-6 minutes until it is crispy and golden. 

Remove the crust and top with 2tbsp 100% natural tomato paste, basil paste (ground fresh basil in a squeeze tube available near lettuce & herbs in produce section) or fresh basil, 1/2 c thinly sliced cherry tomatoes, 1/2 c 2% mozzarella cheese, 2 tbsp fresh shaved Parmesan cheese and dried  Italian seasoning. (Meat optional- just make sure it is thoroughly cooked)  

Bake 5-7 min until bubbly and cheese begins to lightly brown.

Remove from the oven and drizzle with 1 tbsp reduced balsamic vinegar.

Asparagus: 
Wash and trim asparagus, place
on foil lined pan. Drizzle with 1 tbsp of olive oil. Roll them around on the foil so all sides are coated with the oil, then sprinkle lightly with sea salt. 

Bake in 400 degree oven (with pizza) 7-10 minutes depending on the size of your spears.

Yea, yea...you can thank me later...and you will, it's that good.

Ingredient list:
Lavash bread
Olive oil
Garlic powder
Tomato paste
Basil paste or fresh basil
2% mozzarella cheese
Fresh Parmesan cheese
Cherry tomatoes
Italian seasoning
Asparagus