Tuesday, November 11, 2014

Easy Personal Pita Pizzas


"Any pizza is a personal pizza if you try hard and believe in yourself"
- Bill Murray, via Twitter

That quote has always cracked me up, but seriously who doesn't love a pizza catered to what you love? I was always the whiny kid picking the mushrooms and olives off of the supreme pizza while complaining that the residual olive flavor had ruined any hope of a good-tasting piece of pizza. Don't even get me started on picking those things out of spaghetti sauce. I could make a meal last hours if there was an errant vegetable in my sauce. Thankfully I've embraced vegetables as an adult and gotten creative about sneaking them into my kids meals. Its true...learn from the past or be doomed to suffer through the behaviors your children surly inherited from your own olive-hating DNA.

Tonight we went vegetarian with our pizzas, but you could easily add any protein you like: chicken, turkey pepperoni, thinly sliced steak, ground turkey sausage, ham/ bacon or even shrimp. Basically any fully-cooked protein will work. We are a pretty basic bunch so (not so) plain cheese works great for us.

Here's what you'll need per pizza:
1 Joseph's Pita
1/2 tsp olive oil
2-3 shakes of dry garlic powder
2 tbsp marinara or pizza sauce of your choice
2 tsp basil paste or fresh herbs
1/3 cup mozzarella cheese or part-skim mozzarella
1/2 tsp dry parsley
drizzle balsamic glaze
Protein of choice (optional)
Veggies of choice (optional)

Method:
1. Pre-heat oven to 450 degrees.
2. Line a cookie sheet with foil and lay pitas on the sheet without overlapping the edges.
3. Spread olive oil over the pita concentrating on the "crust" edge, then sprinkle crust with garlic powder.
4. Spread marinara sauce and herb paste over the oiled crust.
5. Top with any meats you might be adding and sprinkle cheese evenly over the crust.
6. Sprinkle top of pizza with dry parsley.
7. Slide your cookie sheet in to the oven and lower temperature to 425 degrees.
8. Cook 8-10 minutes or until cheese begins to brown and bubble.
9. Drizzle with balsamic glaze and enjoy.

*Note that if you add vegetables with a higher natural water content, like zucchini and tomatoes, they will affect the crispiness of your crust. I prefer to de-seed fresh tomatoes to cut the moisture content or better yet try sun dried tomatoes.

**If you want to take these to the next level, try thinly slicing fresh mozzarella in place of the shredded cheese and broil on low for the last minute or two of the cooking time. So good!

If you are unfamiliar with any of the ingredients this recipe calls for, here is a little help:


Sunday, November 9, 2014

Perfect Slow Cooker Pork Tenderloin


I'm a big fan of any weekly menu plan that uses the same protein for more than night of dinners to feed our family. This recipe fits the bill perfectly. It tastes great as is as the main protein on your plate or with a few simple additions, its the perfect filling for pork enchiladas, tacos, soups, BBQ sandwiches, Hawaiian pineapple pork, Italian pork sandwiches and whatever else you can dream up. Dang, now I'm thinking how great this would be on a salad with pear, pecans and Gorgonzola cheese. We need more meals in a day...am I wrong?

This recipe is one I often recommend to folks new to food prepping. Mainly because it couldn't be any easier. When I started meal prepping I would often feel overwhelmed by the process because it seemed like too many elements to juggle and keep strait. Was that chicken for lunch or dinner? Did I put the garlic in the right dish? That's the beauty of this recipe. You put the pork tenderloin in the slow cooker, top with the seasonings, add the vegetable broth and forget about it. In fact, leave the lid alone. It is cooking, I promise.

Here is how to make the recipe:

First of all, I highly recommend using a slow cooker liner when you make anything in your slow cooker. It makes clean up a breeze and saves you a lot of soaking and scrubbing especially when you're making chili or dips. Back to the recipe-- Place your pork tenderloin in the slow cooker and liberally salt and pepper the meat then sprinkle evenly with the remaining seasonings.

Add vegetable broth and cover. Cook on low setting for 5-6 hours. Prepare for your house to smell amazing.

Regardless of the size of your tenderloin, you really need a relatively small amount of liquid to cook the meat. As you can see, even fully cooked, there is still plenty of liquid and I feel that cooking the meat in too much liquid changes the texture of the tenderloin in a not-so-great kind of way.

After the tenderloin is fully cooked, remove it from the slow cooker, reserving the cooking liquid. Shred the meat with forks while it is still hot. It should fall apart easily. 

After you've shredded the meat pour 1/4 cup of the cooking liquid over the shredded pork and give it a little stir. You are ready to eat! Serve it up or portion it out for lunches for the week.

And here is the best part. When you are done, just lift out the slow cooker liner and throw it in the trash. Occasionally there is some minimal clean up needed even with the liner, but usually I can just do a quick rinse and its done.


Here's the Recipe: Perfect Slow Cooker Pork Tenderloin
1-2lb pork tenderloin
salt- season liberally
black pepper- season liberally
1/4tsp garlic powder
1/4tsp cumin
1/2tsp dry mustard
1/2tbsp dry parsley
1c vegetable broth

Cook on low 5-6 hours


Monday, October 27, 2014

Creamy Pumpkin Pie Overnight Oats


If you follow me via Instagram, you've probably witnessed firsthand my current obsession with Creamy Pumpkin Pie Overnight Oats. I've been eating them for breakfast for so many days in a row now that I don't even post pictures of it anymore.

Breakfast is absolutely my favorite meal of the day. Sadly, so many of the things that come to mind when we think of amazing breakfast foods are not so good for you. These oats give me that "wow, these are delicious" feeling of eating something warm and satisfying without downing a giant-sized calorie-bomb of a cinnamon roll.

In fact, since I don't want to give these up, I've resorted to eating my other favorites as "breakfast" for lunch and "breakfast" for dinner. I remember as a kid thinking it was such a treat when my mom would come home from work and declare it a Breakfast For Dinner night. It's all just food, right? Eggs for dinner aren't really any different than a chicken breast for breakfast if that's really what sounds good, but those were some magic words in my seven-year-old mind. So that being said...feel free to have some overnight oats for dinner tonight!


Here's the recipe:
1/3c Old Fashioned Oats (not quick or instant oats)
1/2 scoop of Cinnamon or Vanilla Whey protein powder (optional, but recommended. I like About Time Cinnamon Swirl)
1/2tsp ground cinnamon
1tbsp Chia seeds
1/4c low fat cottage cheese
1/4c unsweetened vanilla almond milk (or milk of choice)
1/4tsp vanilla extract
1/4c pumpkin puree
1-2tbsp Maple sryup or sugar-free maple sryup
(Reserved) 1tbsp natural peanut butter or nut butter of choice (top warm oatmeal with peanut butter just before serving)

Mix all ingredients well in a air-tight container and store in refrigerator overnight. In the morning, remove the lid and microwave for 1 minute. Stir thoroughly and microwave for an additional 30 seconds or until the cottage cheese is melted and oatmeal takes on a creamier texture. Top with peanut butter and chow down.

***Quick disclaimer: If cottage cheese is not your thing, you should still give these a try. Once the oatmeal is warm, you'd never know its in there! It makes these oats creamy and packs a good protein and calcium punch.


I make five servings at a time to last the week. It is just as good the first day as it is the last. Just make sure to choose air-tight containers to keep your oats fresh.

I hope you love this easy, healthy breakfast as much as I do. Its the perfect start to your Fall morning, plus with only 10 minutes of prep involved in making an entire week's worth of healthy breakfasts, you'll have plenty of time left to squeeze in a walk around the block or get a jump start on your meal plan for next week. Enjoy!

Wednesday, October 22, 2014

Meal Prep Lunch: Chicken Salad Two Ways


And, wow! It has been entirely too long since I posted. It's been an interesting last year or so since I sat down to write. I became a Barre3 instructor, accepted and quit a job, sent a child to kindergarten and cooked about 1,ooo healthy meals, many of which should have ended up here...and hopefully still will in the not too distant future.

I have been getting quite a few questions lately about meal prepping,mainly from followers of my Instagram account. For me, like I've told so many folks, meal planning and prepping is essential for me. Not only does it keep me sane when our schedule seems so hectic, but it also saves our family money. Going to the store with a plan keeps me from throwing extra food into the cart that we will inevitably toss in the trash. I mean, who among us has not pulled that wilted bag of yellowing and slimy bagged lettuce out of your veggie drawer and thought Dang! I totally forgot I bought that or Man! We should have eaten out one less time this week. It hurts even worse when the "bag of lettuce" is actually an $8 package of out-of-date chicken breasts.

Planning our meals out for the week takes a little effort over the weekend, but because I've made so many meal plans over the past couple of years, we've settled into a comfortable rotation of favorites that work for our family. I like to throw something new in here and there to keep it form getting totally monotonous, but we definitely have meals that just always seem to work. Some newbies make the cut and a whole lot don't. Don't beat yourself up when a meal goes wrong. Two weeks ago I made what was most definitely the nastiest textured chili to ever come out of a crock pot. I can't really even say what went wrong...think chili flavored baby food. Or don't. You probably shouldn't. It was that gross.

But back to why you're here--a meal prep recipe. In the spirit of keeping life simple, here are two of my favorite lunch meal preps. These are my go-to chicken salads. Simple, fresh, healthy and delicious---prep one of these recipes tonight and you'll have lunch for the next week ready and waiting in the fridge. I suggest portioning the salad out into individual containers to keep serving size in-check and ensure that your prep lasts you through the week. Plus, portioning out your servings eliminates excuses. You have a last minute meeting...forgot that dentist appointment? There is no reason to hit the drive thru when you can borrow your kid's lunchbox from last year (the one that obviously will not work for him this year, you know, because it already kept his food cold for an entire school year) throw in an ice pack and take that meal with you. Both of these salads taste great at your kitchen table or in the DMV parking lot.

Hope you enjoy! I'd love to hear your comments and suggestions!


Cran-Apple Chicken Salad:

16 oz of cooked, shredded chicken breast
3/4c plain Greek yogurt (add an additional 1/4c of yogurt if you prefer a creamier salad)
1 tbsp grain mustard or Dijon Mustard (optional)
1 med apple, diced (I prefer Fuji or Honeycrisp)
1 rib of celery, diced
2 tbsp dried cranberries (I prefer Ocean Spray 50% less sugar cranberries)
1oz toasted walnuts, rough chopped
1/4 tsp garlic powder
salt and pepper to taste
Combine all ingredients in a large mixing bowl and mix well. Taste and season with additional salt and pepper, if needed. Serves 4-5.


Sante Fe Chicken Salad:

16oz of cooked, shredded chicken breast
1/4c plain greek yogurt
1/4c light or regular sour cream
1/3c mild chunky salsa
1/2c sweet corn kernels
1/2c black beans
1/2c reduced fat or regular shredded cheddar cheese
1 tsp cumin
1/4 tbsp garlic powder
1/4 tbsp red pepper flakes
1 rib of celery, chopped
a handful of fresh cilantro, de-stemmed and rough chopped
Juice of 1/2 a lime
salt and pepper to taste
Combine all ingredients in a large mixing bowl and mix well. Taste and season with additional salt and pepper, if needed. Serves 4-5.

I like these salads best on a Joseph's pita bread or toasted Ezekiel bread. I find the pitas at Wal-Mart in the deli section. I'm hoping more retailers will begin to carry Joseph's products, but for now its the only place I can find them. Either salad is also great on its own or on a bed of romaine. Enjoy!


Sunday, February 2, 2014

Creamy Lentil and Potato Stew

For the longest time my idea of protein meant one thing... meat. I definitely grew up in a meat and potatoes household. Chicken, ground turkey, ground beef or the occasional steak: one of these was almost always the shining star on our dinner plates. Letting go of that traditional notion of what makes a "meal" is pretty liberating. I rarely set out to plan meatless meals, but they have slowly crept into our dinner rotation and have become some of my very favorites.

This creamy lentil stew has become one of my go-to recipes during this exceptionally snowy winter. It's filled with veggies and packs a protein punch with green lentils and great northern white beans. It is thick, creamy, warm-your-bones comfort food. This stew also works perfectly for meal prep. I like to make this and serve it to my family for dinner, then use the leftovers for lunches or busy weeknights. I hope you love it!

Creamy Lentil Stew:
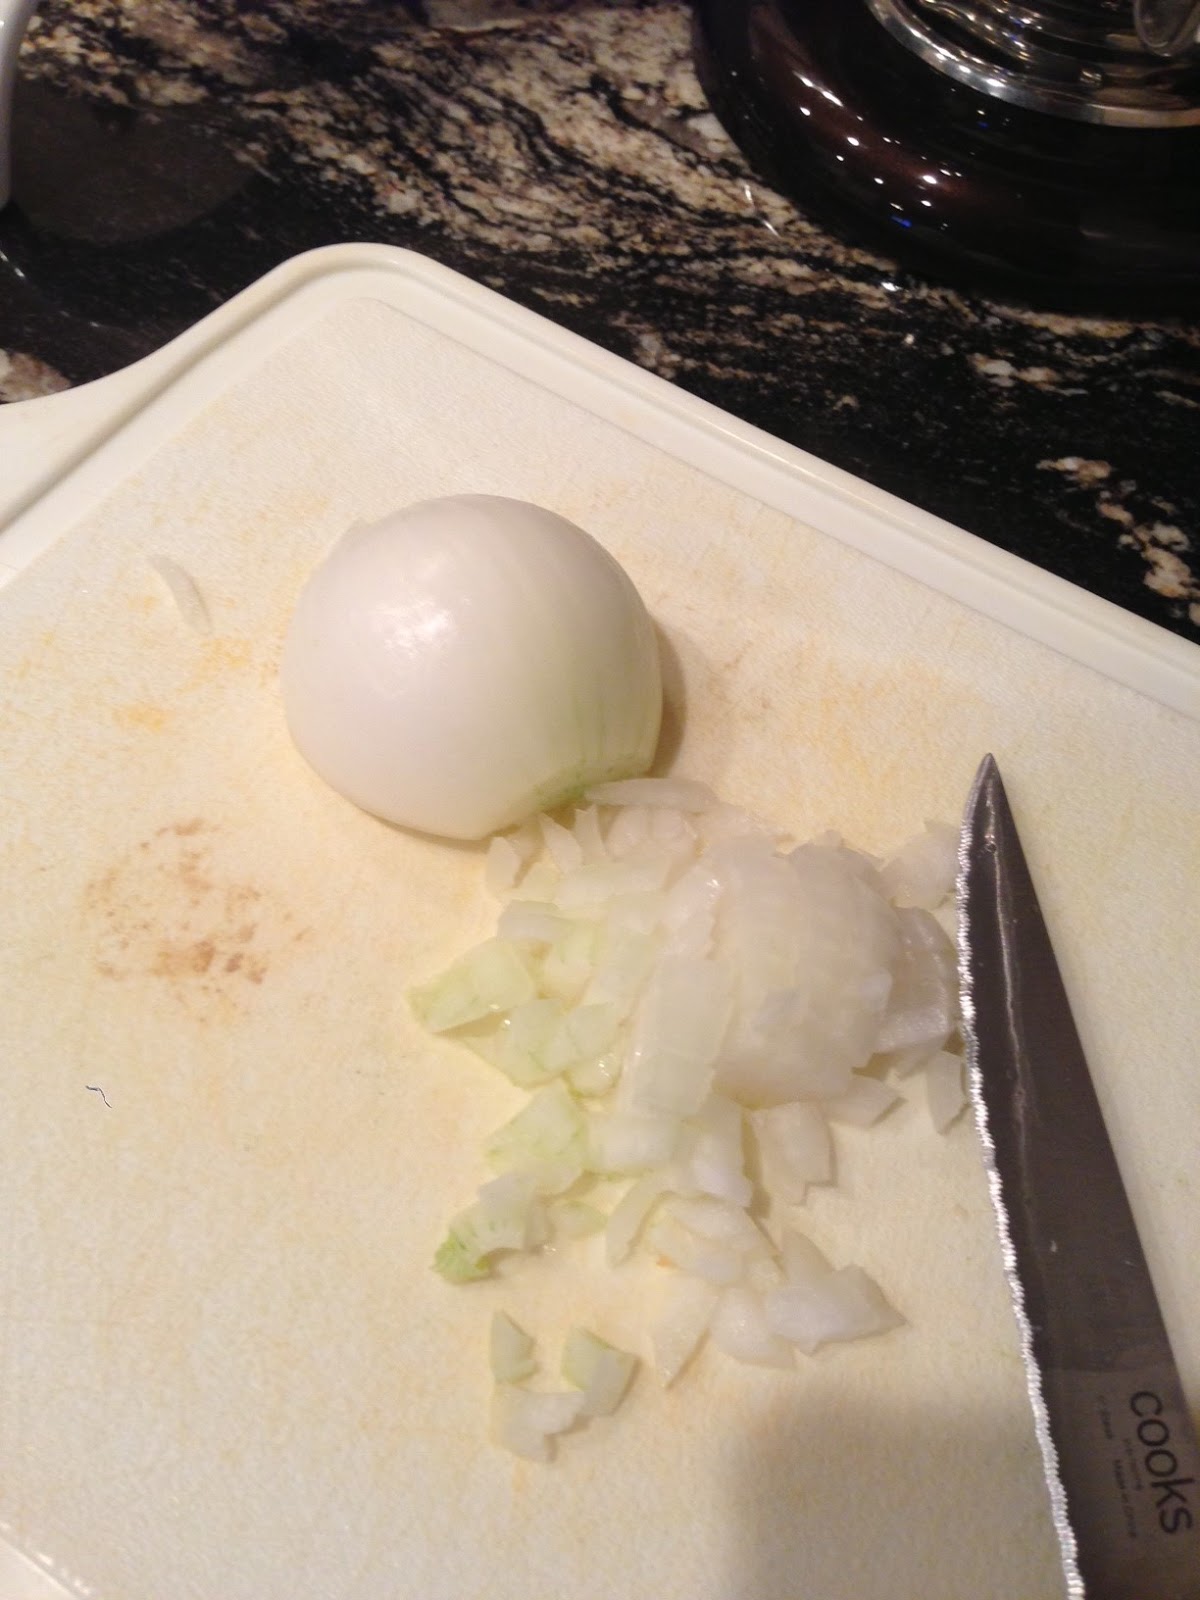
Begin by warming 2 tbsp of olive oil in a large stock pot. Add your finely chopped yellow onion, carrots, celery and garlic and saute for 6-7 minutes until onions are translucent and carrots and celery begin to soften. Season well with salt and pepper.

Next add your chopped potatoes and continue cooking for 5 more minutes.

Next add chicken broth, herbs, beans, lentils and water to your soup pot and bring to a rolling boil. Continue cooking at a low rolling boil for 10-15 minutes to soften potatoes and lentils.

I like to let the stew simmer for as long as possible --an hour or two-- to let the flavors develop, but if you are short on time, it really only needs to boil/simmer until the veggies and lentils are soft. After potatoes and lentils have softened, remove 2 cups of the soup and transfer it to a blender. **Let the soup cool for several minutes before blending- boiling hot soup will cause excessive steam and could cause your blender lid to fly off your blender and cause a huge mess** Blend the soup until smooth.

Return the blended stew to the pot and stir to combine. This is when your stew will really thicken and become creamy---transforming it from a soup to a stew. I like to continue to simmer the soup for a little while after this point, but you are ready to eat at this point. 

This stew reheats really well and like most stews and soup, I think it tastes even better the second day. I usually garnish mine with dry chili flakes for a little heat. It would also be great garnished with fresh avocado or some crispy crackers. Enjoy and stay warm!

Creamy Lentil Stew
Ingredient List:
2 tbsp olive oil
1 med onion, chopped
4 ribs of celery, chopped
1.5 cups carrots, chopped
3 large or 4 medium red new potatoes, cubbed
2 tbsp or 4 cloves of garlic, finely chopped
4 cups or 32oz of Organic vegetable stock
1 cup water
1 15oz can of Great Northern Beans
1 cup lentils
1.5 tbsp dry parstly
1 tsp dry basil
1/2 tsp cumin
1/2 - 1 tsp Salt, or more to taste
1/2 tsp ground black pepper, or more to taste


Tuesday, July 23, 2013

The answer to my Junior Mint addiction: Choco-Mint Mini Truffles


When I decided to get more serious about being healthy and eating clean I knew there would be things I would miss. And by things, I mean junk food. If you had looked in my freezer a year ago there would have undoubtedly been a stash of Junior Mints or Peppermint Patties. I love those cold, minty little treasures. Even now when I think about them, I want one...er, some, or a movie theater-size box.

Something had to be done, so I set out to fill the void in my heart left by those little babies. I came up with this concoction by starting with the regular base for my energy bars and put a chocolate/ mint spin on it. This recipe is rather small because **CONFESSION** last time I made these I ate the entire batch in one sitting. I think it would be fine to double it, but be warned: These are addictive. As it stands, this recipe makes about 15-20 mini-truffles about the diameter of a nickel.

Start by combining all the ingredients, except the water and peppermint extract in a food processor. **Note** Do not forget to pit your dates. Pulse the ingredients to combine for about 10 seconds at a time for a total of 30 or 40 seconds.  As the ingredients come together, it will be powdery. Next add the water and extract and continue pulsing. The mixture will begin to come together and get more sticky.

After the almonds are finely chopped enough for your liking, remove the lid and blade from your food processor and dump the contents into a bowl and chill for 5-10 minutes. After the mix has chilled, roll the dough into balls about the diameter of a nickle and return the mini truffles to the fridge for 5 minutes.

Melt the dark chocolate chips in a glass dish in the microwave for about 20 seconds, stir and continue heating if needed.

Lastly dip the bottom half of each truffle into the dark chocolate and allow to harden. Store in the fridge in a ziploc or tupperware.

Now...restrain yourself from eating all of them...or don't. I don't judge.

Recipe:
6 Madjool Dates, pitted
1/2c almonds
1/4c old fashioned oats
1/4c ground flax
1/8c unsweetened cocoa
2 packets of stevia
1/2tsp pure peppermint extract
1/8c water
2tbsp dark chocolate chips, melted

Monday, July 15, 2013

Just roll with it...Shredded Chicken Enchiladas


A few weeks ago I ventured  back into the world of "let's make something bad for you not so bad for you." I had avoided that style of cooking for a while, opting to try to make some new recipes and try out some dishes I hadn't made before. For my first effort back into healthier comfort food I decided to make baked egg rolls and guess what...you won't be finding that recipe on this blog.

They were a bust...literally. The worst part was that I had told my in-laws I'd make dinner that night. The trouble started when I decided to assemble them at home and bake them at their house. The egg roll wrappers all stuck together and everyone of them tore to some degree when I pulled them off the plate but I decided to try and bake them anyway. I had to feed these people, right?

It was a failure all around. They were too salty, never got crispy, plus they stuck to the foil and busted open even more...what is an open-face egg roll? Well, that night...it was dinner. Everyone humored me and ate them, but I was once again reminded that feeding friends and family is not the ideal time to try a new recipe, much less a recipe that in no way resembles food that you eat on a daily basis.

So, that brings me to today. I was really craving Mexican food. I decided Southwestern Egg Rolls a la Chili's sounded great. Um yea...let's whip out those leftover egg roll wrappers and give them another shot. Yes! Brilliant idea!

I started by prepping the filling. I tried to remember what is in Chili's egg rolls and then decide what would work to keep these as healthy as they could be. I settled on black beans, fire roasted tomatoes, diced green chiles, corn, onion, and shredded chicken seasoned with red pepper flakes, garlic and cumin.

Earlier in the day I had started a crock pot of chicken breasts. I love the way shredded chicken comes out when I cook it that way. Usually I put the chicken breasts in the bottom of the crock pot and cover it with whatever dried herbs sound good and then pour 100% natural chicken broth over the top until it just covers the meat and then cook on low for 5-6 hours. By the time the timer goes off, you can easily shred the chicken with a fork. This is a great way to meal prep. In fact, this week we will be having three dishes that incorporate this batch of shredded chicken. That may sound boring but it's just a matter of using it in different ways. We are having a Mexican meal, BBQ and Pizza. **note: drain all but approximately 1/4 cup of the broth before you shred the chicken**

Back to the Southwestern egg rolls. The filling was tasting really good so I went to the fridge and pulled out the leftover wrappers. Funny...I didn't remember the little black specs on the wrappers. Yea, evidently they aren't supposed to be there. Only at this moment did I take a better look at the package to see it said in bold letters "PERISHABLE- USE WITHIN 2 DAYS of OPENING." These guys were at least 2 weeks old and they looked it. Dang it.

I did what any woman who really wants her egg roll would do. I loaded up both kids (one of which had been playing in my make-up all afternoon and looked a fool) and headed to the grocery store. I headed straight to the refrigerator section where I was quite sure I bought the first package of wrappers. Guess what? Not there. I circled 3 or 4 times while my blue-eye-liner-clad pre-schooler made sure to yell how hungry she was at the top of her lungs every time another shopper passed by us.

Around that time I decided that my Southwestern Egg Rolls were now enchiladas. I headed to the register with my sad little can of enchilada sauce. I was ready to pay and go, but surely the barely-teenage girl who was running the register would know if they had egg roll wrappers, right? No. No, she didn't but she knew who to call. She pointed me toward a manager that looked to be all of four days older than she was and said he knew what I wanted.

I mustered up my last bit of hope, hoisted the baby back up onto my hip and dragged my starving kid back to the refrigerator section. I was hopeful for a minute as he seemed pretty sure of where he was heading, but sorry, no. I'm not looking for frozen pre-made egg rolls. He then took me to the the section I'd been circling earlier. You guess it...still not there.

I think the lesson is clear here. The universe wants me to give up this crazy baked egg roll dream...Southwestern or otherwise.

So, for dinner ended up with some pretty tasty enchiladas, green beans sauted in olive oil and garlic and watermelon. Bellies full, mission accomplished. Sort of.

Here is how I made them:

Start by sauteing a medium onion in 1tsp of olive oil over medium heat. Once the onion has softened add the garlic and continue cooking for about 4-5 minutes.
Now add to the pan your rinsed black beans, corn, chopped green chilies, drained fire roasted tomatoes, and seasoning.

Stir your vegetable mix together well and add 2-3 shredded chicken breasts. I only wanted to make one meal, without a lot of leftovers, so I removed about 1/3 of the veg mix before adding the chicken. It will be part of my lunch this week. Since I had less vegetables, I only added 2 chicken breasts.
Let that all cook together, stirring often, for a few minutes then get out a baking dish and pour about 1/3 of the can of enchilada sauce in the bottom of the pan. Next fill and roll your tortillas and place them seam-side down in the baking dish. I made five. You could definitely make a lot more than that with this much filling, but I make these really big. Like I said, I've already meal-prepped my lunches this week so I didn't want a lot of leftovers.

These are the tortillas I prefer to use. They are not "clean" but they are low-carb and fairly low-calorie. Also they have a texture very similar to a regular flour tortilla. I can't handle the "healthy" tortillas that turn slimy and fall apart when you try to use them.
Lastly pour the remaining sauce over your rolled enchiladas and top with 1/4 cup of reduced fat cheddar cheese and bake for 20 minutes at 375 degrees.
This isn't a beautiful picture of my plate, but I was starving and ready to dig in.

Recipe:
Carb Balance Tortillas
1 14 oz can of enchilada sauce
1 med onion, chopped
2-3 cloves of garlic, minced
1 tsp olive oil
1 can black beans, drained
1 14.5 oz can organic fire roasted tomatoes, drained
1 4oz can chopped green chilies
1 small bag of frozen corn or the kernels off 3 ears of corn 
1/2 tsp (or more) cumin
1/2 tsp dried red chili flakes (or less if you don't want a lot of spice)
2-3 cooked chicken breasts, shredded
Salt and pepper to taste
1/4 c reduced fat cheddar cheese as topping

Assemble and bake for 20 minutes at 375 degrees